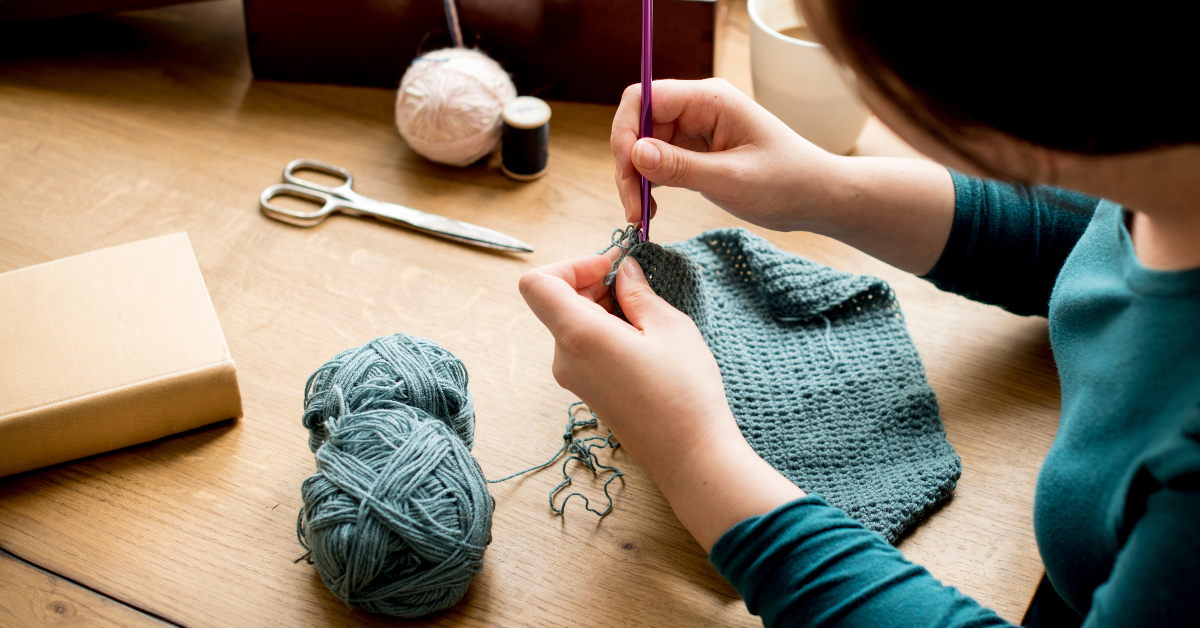
Knitting is an ancient craft that has been around for thousands of years. It is the process of creating a textile by interlocking loops of yarn using two needles. Knitting can be used to make a variety of items, including scarves, hats, socks, and even sweaters. In this blog post, we will be focusing specifically on how to knit a sweater.
Before we get started, it’s important to note that knitting a sweater is a more advanced project that requires some previous knitting experience. If you’re new to knitting, it’s a good idea to start with some simpler projects, such as a scarf or a hat, to get the hang of the basics.
Step 1: Choose your yarn and needles
The first step in knitting a sweater is to choose your yarn and needles. The type of yarn you choose will depend on the style and thickness you want for your sweater. You will also need to choose the appropriate needles for your chosen yarn. The size of the needles will also determine the overall thickness and texture of your sweater.
Step 2: Choose your pattern
Once you’ve chosen your yarn and needles, you will need to choose a pattern for your sweater. There are many patterns available online or in knitting books that you can use. It’s important to choose a pattern that matches your skill level, so if you’re new to knitting, look for a pattern that is labeled as “easy” or “beginner.”
Step 3: Gauge swatch
Before you start knitting your sweater, it’s a good idea to do a gauge swatch. This will help you determine if your stitches are the correct size and if your sweater will turn out the right size. To do a gauge swatch, simply cast on a few stitches and knit a few rows. Then, measure the swatch to see if it matches the gauge specified in the pattern. If it doesn’t match, you may need to adjust your needle size or the number of stitches you cast on.
Step 4: Cast on
Once you’ve completed your gauge swatch, it’s time to cast on for your sweater. The cast on is the first row of stitches that you will make. There are several different methods for casting on, so choose the one that works best for you.
Step 5: Knit the body
After you’ve cast on, it’s time to start knitting the body of your sweater. This is the main part of the sweater, and it’s where you’ll spend most of your time knitting. Follow the pattern instructions carefully, making sure to check your gauge as you go. Depending on the pattern, you may need to add in stitch markers to help you keep track of where you are in the pattern.
Step 6: Knit the sleeves
Once you’ve completed the body of your sweater, it’s time to move on to the sleeves. Again, follow the pattern instructions carefully and check your gauge as you go. Depending on the pattern, you may need to knit the sleeves separately and then attach them to the body of the sweater, or you may be able to knit them directly onto the body of the sweater.
Step 7: Finish the neckline
After you’ve completed the body and sleeves of your sweater, it’s time to finish the neckline. There are several different methods for finishing the neckline, including ribbing, garter stitch, and a rolled edge. Choose the method that matches the pattern you’re using.
Step 8: Weave in the ends
Finally, once you’ve finished knitting your sweater, it’s time to weave in the ends. This is the process of hiding the loose ends of yarn that are left over from casting on and binding off. There are several different methods for weaving in ends, so choose the one that works best for you
Step 9: Block the sweater
Blocking is the process of shaping and sizing a finished piece of knitting. It involves wetting the fabric and then laying it out flat to dry. This helps to even out the stitches and make the fabric look more uniform. To block your sweater, soak it in lukewarm water and gently squeeze out the excess water. Then, lay it out flat on a clean towel and shape it to the correct size and dimensions. Allow the sweater to dry completely before wearing or storing.
Step 10: Sew on buttons or other embellishments
If your sweater has buttons or other embellishments, you’ll need to sew them on once the sweater is dry. Choose buttons or embellishments that match the style and color of your sweater. Use a needle and thread to sew them securely in place.
Step 11: Care for your sweater
To keep your sweater looking great, it’s important to care for it properly. Follow the care instructions on the yarn label or in the pattern. In general, you’ll want to hand wash your sweater in cool water and lay it flat to dry. Avoid hanging or drying it in direct sunlight, as this can cause the fabric to stretch or fade.
Knitting a sweater can be a challenging but rewarding project. By following these steps and taking your time, you can create a beautiful and cozy sweater that will keep you warm for years to come. So gather your yarn and needles, choose a pattern, and get started on your next knitting adventure!
