Knitting socks is a popular hobby for many crafters. Not only are socks a practical and useful item to knit, but they are also a great way to showcase your creativity and skills as a knitter. In this blog post, we will be sharing step-by-step instructions on how to knit socks.
Before we begin, it’s important to note that knitting socks is an intermediate to advanced level project. If you’re new to knitting, we recommend starting with simpler projects such as scarves or hats to build your skills and confidence.
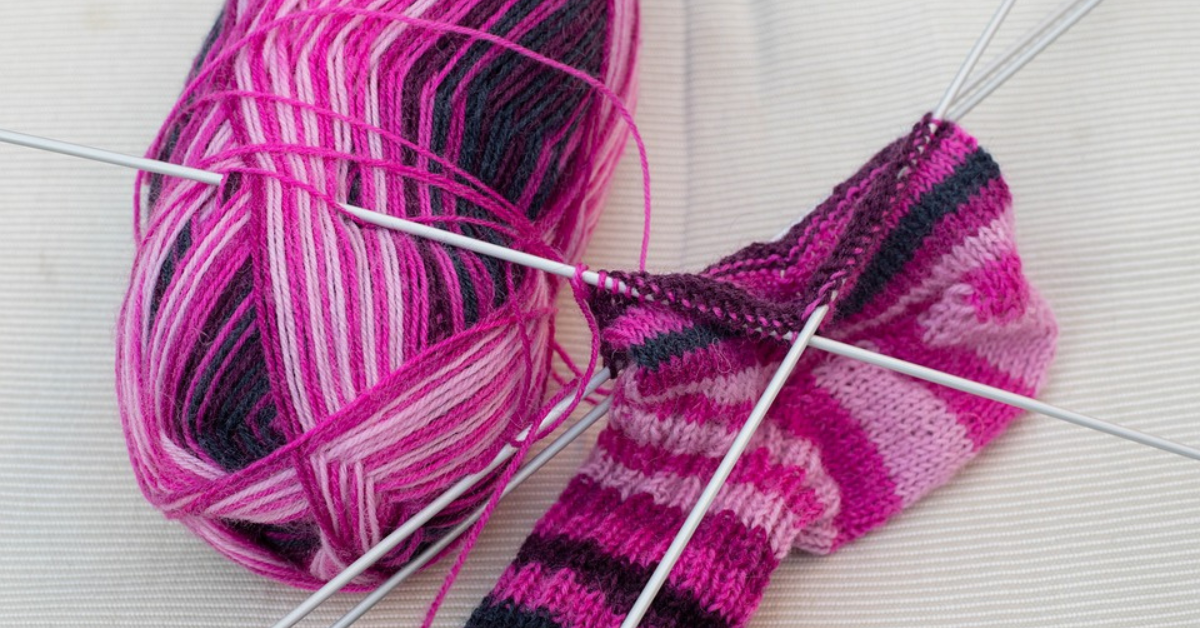
Step 1: Choose your yarn and needles
The first step in knitting socks is to choose your yarn and needles. When selecting your yarn, choose one that is appropriate for socks – this typically means a yarn that is strong, durable, and can withstand wear and tear. Wool and wool-blend yarns are popular choices for knitting socks.
When it comes to needles, you’ll want to use double-pointed needles (DPNs) or a circular needle with a long cord. Choose a needle size that is appropriate for your yarn – the yarn label should provide a recommended needle size.
Step 2: Measure your foot
Before you begin knitting your socks, you’ll need to measure your foot to ensure a good fit. Measure the circumference of your foot at the widest point, as well as the length from the back of your heel to the tip of your toe.
Step 3: Cast on
Once you’ve chosen your yarn and needles and measured your foot, it’s time to cast on. The number of stitches you cast on will depend on your gauge (how many stitches per inch you’re getting with your chosen yarn and needles) and the circumference of your foot.
For a basic sock, cast on the appropriate number of stitches and distribute them evenly onto three or four DPNs or onto a circular needle. Be careful not to twist your stitches as you join them in the round.
Step 4: Knit the cuff
The cuff is the top part of the sock that sits around your ankle. You can choose to knit a ribbed cuff (such as a k2, p2 rib) or a simple stockinette stitch cuff. Knit the cuff for the desired length – most sock patterns suggest knitting the cuff for about 1-2 inches.
Step 5: Knit the leg
Once you’ve finished the cuff, it’s time to knit the leg of the sock. The leg is the part of the sock that extends up your calf. You can knit the leg in a variety of stitch patterns, such as ribbing or a cable pattern. Knit the leg for the desired length – most sock patterns suggest knitting the leg for about 6-8 inches.
Step 6: Turn the heel
Turning the heel is a crucial step in sock knitting – this is what creates the curve of the sock to fit around your heel. There are several methods for turning a heel, but the most common is the “short-row” method.
To turn the heel, follow the instructions for your chosen pattern. This typically involves working a series of short rows back and forth on only a portion of the stitches. This creates a triangular shape that will fit snugly around your heel.
Step 7: Knit the foot
Once you’ve turned the heel, it’s time to knit the foot of the sock. Knit the foot until it reaches the length of your foot from the back of your heel to the tip of your toe. Be sure to try the sock on as you go to ensure a good fit.
Step 8: Decrease for the toe
When you’ve reached the desired length for the foot, it’s time to decrease for the toe. There are several methods for decreasing for the toe, but the most common is the
Step 9: Weave in ends and block
Once you’ve completed the toe decrease, it’s time to weave in any remaining ends and block your socks. Weaving in ends involves using a tapestry needle to thread the loose yarn ends through the stitches of your sock to secure them.
Blocking involves wetting your socks and then shaping them to the correct size and dimensions. This helps to even out the stitches and make the fabric look more uniform. To block your socks, soak them in lukewarm water and gently squeeze out the excess water. Then, shape them to the correct size and allow them to dry completely before wearing or storing.
Step 10: Repeat for the second sock
Once you’ve completed your first sock, it’s time to repeat the entire process for the second sock. This ensures that you have a matching pair of socks that fit both of your feet.
Knitting socks can be a challenging but rewarding project. By following these steps and taking your time, you can create a cozy and comfortable pair of socks that will keep your feet warm all winter long. So gather your yarn and needles, choose a pattern, and get started on your next knitting adventure!
In conclusion, knitting socks is a fun and rewarding project for knitters of all skill levels. With the right yarn, needles, and pattern, you can create a cozy and comfortable pair of socks that fit perfectly and showcase your creativity and skills. By following the steps outlined in this blog post and taking your time, you can create a pair of socks that will keep your feet warm and stylish all year round. So, grab your knitting supplies and get ready to embark on your next knitting adventure – happy sock knitting!